
Turn a Portrait Into a Spooky Halloween Clip
Old photographs have a stillness that is hard to fake, and animating one adds a layer the photographer never captured. Use pictures you own or have permission for, and leave living public figures alone.
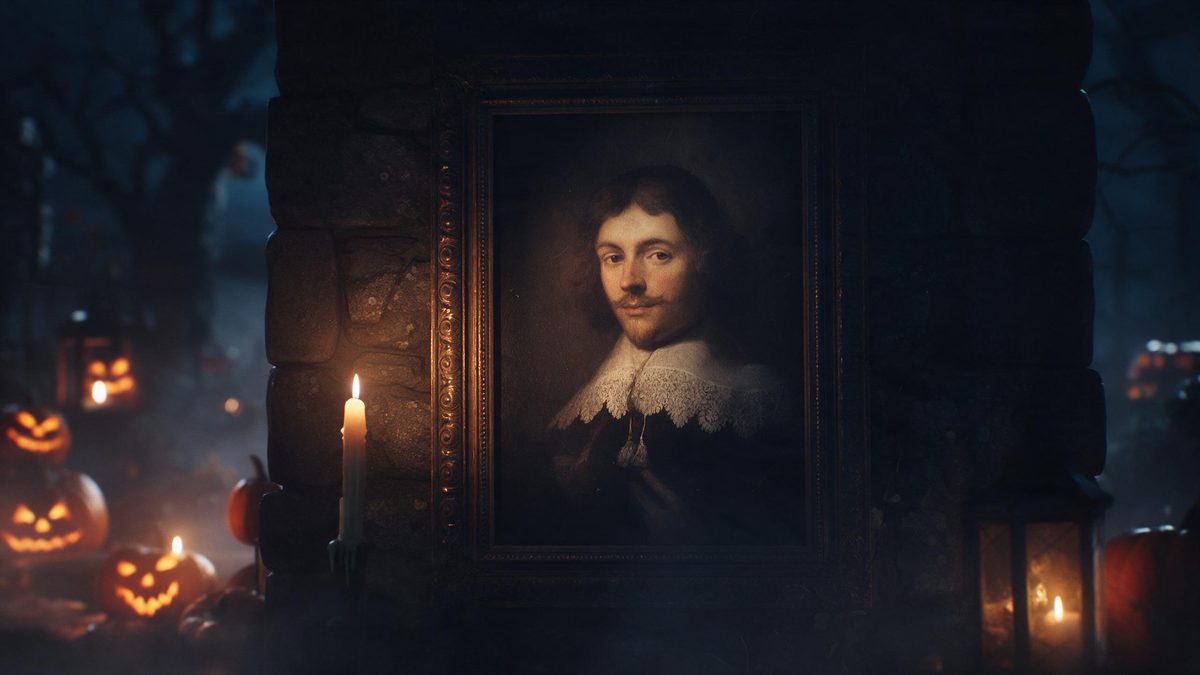
Older photographs have a quality that is difficult to fake: the flat studio light, the fixed expression, the slight wrongness of a face held perfectly still for a long exposure. Animating one adds a second layer, because the subject moves in a way the photograph never recorded. Around Halloween that combination does more work than any effect applied to a fresh selfie.
The practical caution concerns consent. Use pictures of family, images you have explicit permission for, or historical figures long out of copyright. Do not animate a living public figure, because the result is a fabricated image of a real person who cannot correct it. One clear, front-facing, well-lit scan of an old print is the only input the Halloween effect needs, and the rest is produced from there.
What it does
Built for this specific job, not a generic editor.
Still portraits gain motion
A photograph that has not moved in forty years becomes a short clip you can watch. The Halloween setting and the lighting are generated around the subject, so the original image needs no costume, no backdrop and no retouching before it goes in.
One scan, no restoration
You do not need to repair the print first. Upload a single clear, front-facing, evenly lit image and the render works from it, and a flatbed scan of the original is the best source you can give it, since glare reads as detail.
Three settings to suit the era
Each render asks for one of three settings: lantern in fog, carved pumpkin or night street. Two of them contain no face at all, which suits old portraits where the period setting should do the work rather than a close study of a face.
Formats for where it is shown
Export 9:16 for Stories and Reels, 1:1 for a feed post, or 16:9 for YouTube and for embedding in a family history page or a slideshow. Pick the shape before you render so the composition suits where it will actually be seen.
How it works
Four steps, no timeline to learn.
Choose the portrait
Pick an image where the subject faces the camera with even light across the face. A flatbed scan of a print beats photographing a framed picture, because glass glare reads as surface detail and gives the render less to work with.
Check you should use it
Confine yourself to family pictures, images you have permission for, or historical figures long out of copyright. Avoid living public figures entirely: a fabricated clip of a real person is not a fair use of the effect.
Render the clip
Upload the single image to the Halloween effect and choose one of the three settings available. The costume, the scene and the lighting are all produced inside the render, so nothing about the original print has to be changed first.
Export and archive
Download 9:16, 1:1 or 16:9 depending on where it will be seen, and keep the file next to the original scan so the source and the render are never separated from each other.
What people use it for
The jobs this actually gets used for.
Family history posts
A relative's studio portrait becomes a short seasonal clip the whole family can watch on a phone. File the original scan alongside the render so the two travel together and nobody later mistakes one for the other.
Local history and archives
Historical portraits gain atmosphere from the settings with no face in them, and they do it without putting words in anyone's mouth. The focus stays on the period setting rather than on one individual, which is usually what an archive wants.
Seasonal site headers
A 16:9 render sits well as a page header or inside an embedded player on an article. The clip sets a tone that a static image on its own does not manage, and it loads once at the top of the page.
Screened at a gathering
Show the clip on a television during a family evening rather than passing a fragile print around the room. A vertical 9:16 copy fills a phone screen when people want to record it and share it afterwards.
What animating a photograph does, and where it misleads
Resemblance is not testimony.
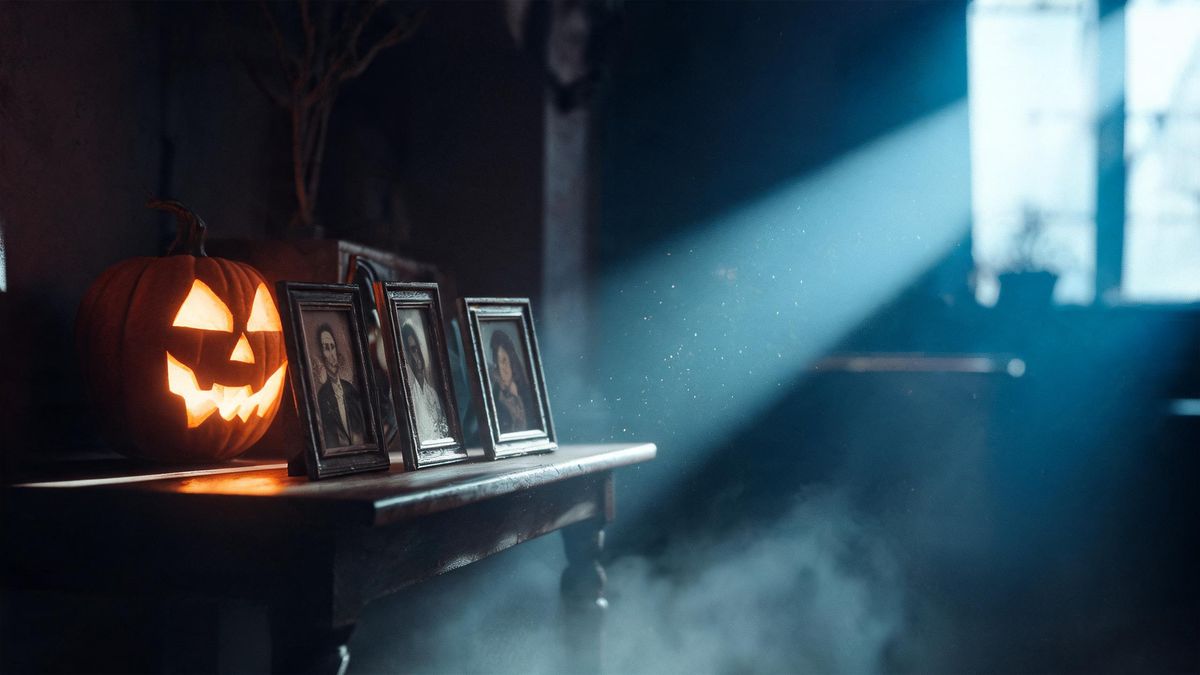
Animating a still portrait changes what a viewer believes. A photograph is understood as a record of one moment; a moving clip is read as a record of behaviour, and people infer mood, expression and intent from motion that never happened. That effect is exactly what makes it work at Halloween, and it is also why the source matters: the further the clip travels from its origin, the more it invites interpretation the photograph never supported.
This is where the limit sits. Animating a family portrait or a long-dead historical figure is a straightforward use, and the result is clearly a seasonal piece of fun. Animating a living public figure is different: it produces a fabricated image of someone who did not agree to it and cannot correct it. The guideline is simple enough to follow: use pictures you own, pictures you have permission for, or work far enough out of copyright that no living person is affected.
Technically the input requirement is narrow. One clear, front-facing, evenly lit image. Older prints often fail that test, and a scan is better than photographing a framed picture, because glass glare and uneven room light register as surface detail rather than as the subject. Where a face is heavily obscured, the two settings without faces are the more honest choice: they give you the period setting without inventing an expression.
Credits and plans
Every tool draws on one shared credit balance.
Animated portraits use the same credit balance as every other render on the site. Free accounts receive 30 credits each month without a credit card; Starter costs $9 for 400 credits, Pro $19 for 1,000 and Studio $59 for 4,000. The credit cost is shown before you confirm, so the exact figure is visible on the render step before you spend anything.
Related guides
Longer reads on the same workflow, from the OpenFilmo blog.
Image to Video AI: Animate Any Photo in Seconds
A complete guide to image to video AI: what makes a good source image, how to write motion prompts, top use cases, and how to fix …
Character Consistency in AI Video: What Actually Works
How to keep characters consistent across AI video shots: reference images, prompt discipline, key frame locking and post-hoc corre…
AI Video Upscaling to 4K: Refiners, Settings and Limits
How AI video upscaling and one-step refiners work, when to upscale versus regenerate at native resolution, and the settings that a…
Related tools
Closely related pages on the same problem.
Frequently asked questions
Can I animate a picture of a celebrity?
No. Animating a living public figure produces a fabricated clip of a real person who has not agreed to it and cannot answer for it. Use family photographs, images you have permission for, or historical figures who have been out of copyright for a long time instead.
What makes a good source image?
One clear, front-facing image with even light across the face and nothing obscuring the features. Scan a print rather than photographing it in a frame, since glass glare reads as surface detail and leaves the render with less to work from.
Do I need to repair the photo first?
No restoration step is required before you start. A single clear image is enough for the render to work from, whatever condition the rest of the print is in. If the face is badly damaged, the settings with no face give you the period without inventing detail.
Which direction suits an old portrait?
The two settings that carry no face put the period setting first, which suits photographs you would rather not alter closely or study in detail. The remaining option keeps the subject in frame and is the more direct choice when the face is clear.
What does a render cost?
The credit cost is shown before you confirm, so the number appears on the render step rather than on a statement afterwards. Free plans give 30 credits a month with no card required, and paid plans raise the allowance from there.
Halloween effect templates
Ready-made halloween templates in OpenFilmo — open one and drop your photo in.