
Halloween Clips Built for TikTok, Reels and Shorts
On vertical platforms the decision is made in the first three seconds. Render at 9:16 from the start rather than cropping a landscape file, and pick footage whose ending resembles its opening.
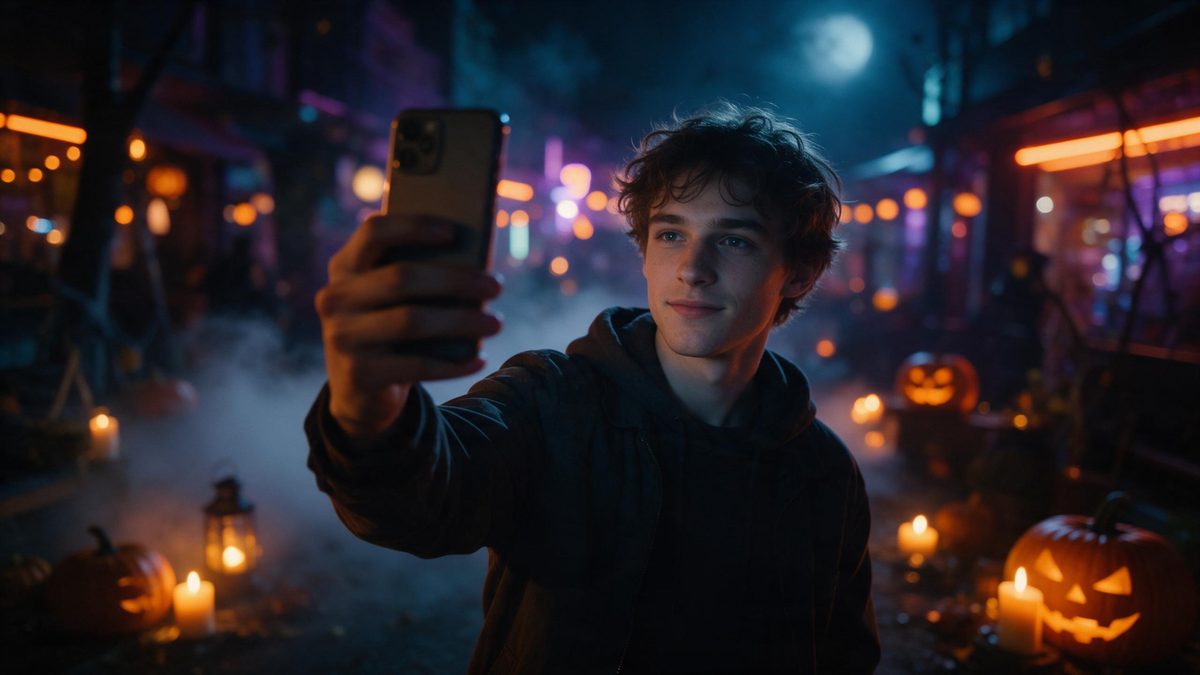
Vertical seasonal clips have one job in the first three seconds: stop the scroll. On TikTok, Reels and Shorts the decision is made before any context has landed, so the opening frame has to carry something, movement, a light source, a silhouette, rather than a slow build that pays off later. Everything after that is secondary, including the way the clip eventually ends. A clip that rewards patience rarely gets any.
Looping is the part people forget. These platforms restart the clip automatically, and a hard cut back to the first frame reads as a glitch; footage whose end state resembles its opening plays continuously and quietly accumulates watch time. Exporting 9:16 from the outset also avoids the crop that turns a composed shot into a forehead and a strip of ceiling.
What it does
Built for this specific job, not a generic editor.
9:16 native
Export vertical directly from the render rather than trimming a landscape file down afterwards. The frame is composed for a tall screen, so nothing important sits in the margins that a crop would remove, and the light falls where it was arranged to fall.
Three directions, different openings
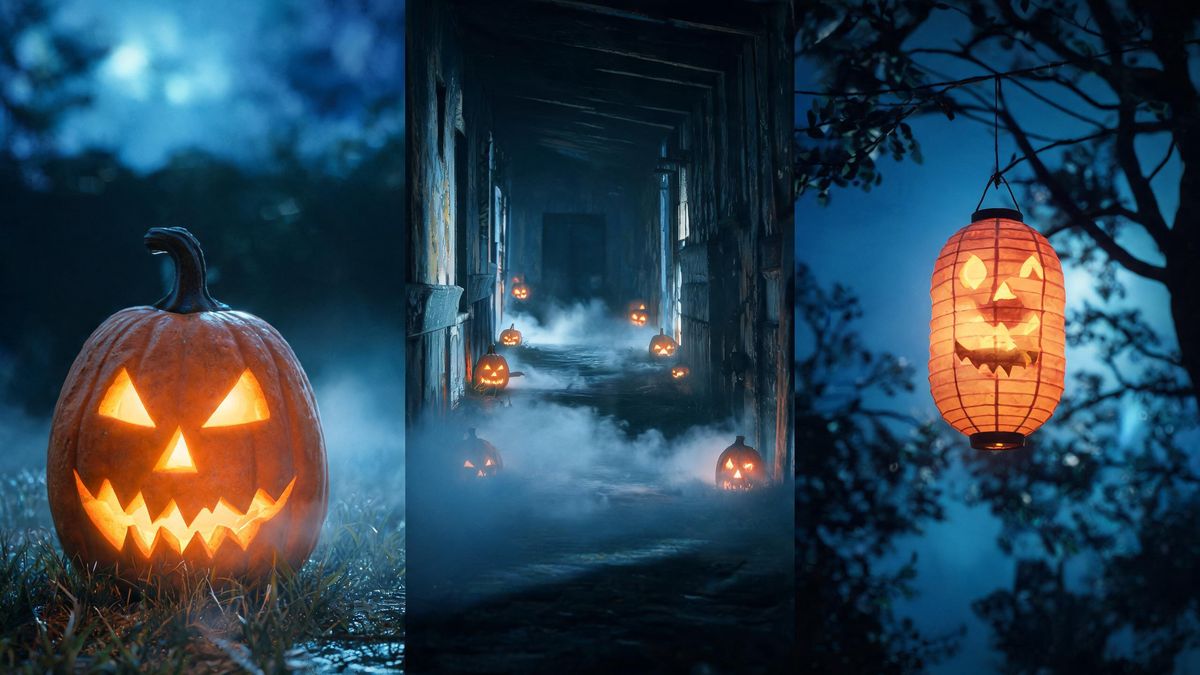
The three settings give you three distinct opening images from one portrait, and rotating between them keeps a run of posts from looking like the same file twice. That matters more on vertical platforms than anywhere else, because repetition is very easy to spot.
Faceless options for text hooks
Two of the three settings contain no face at all, which leaves clean space for an on-screen hook line or a caption. That is worth using on the days when the words are doing the work and the footage is only there to hold attention.
One portrait, no editing
Upload a single clear, front-facing, well-lit photo, choose a direction and download the result. There is no timeline to assemble and no editing experience needed between the render finishing and the clip going live on your account.
How it works
Four steps, no timeline to learn.
Shoot the portrait properly
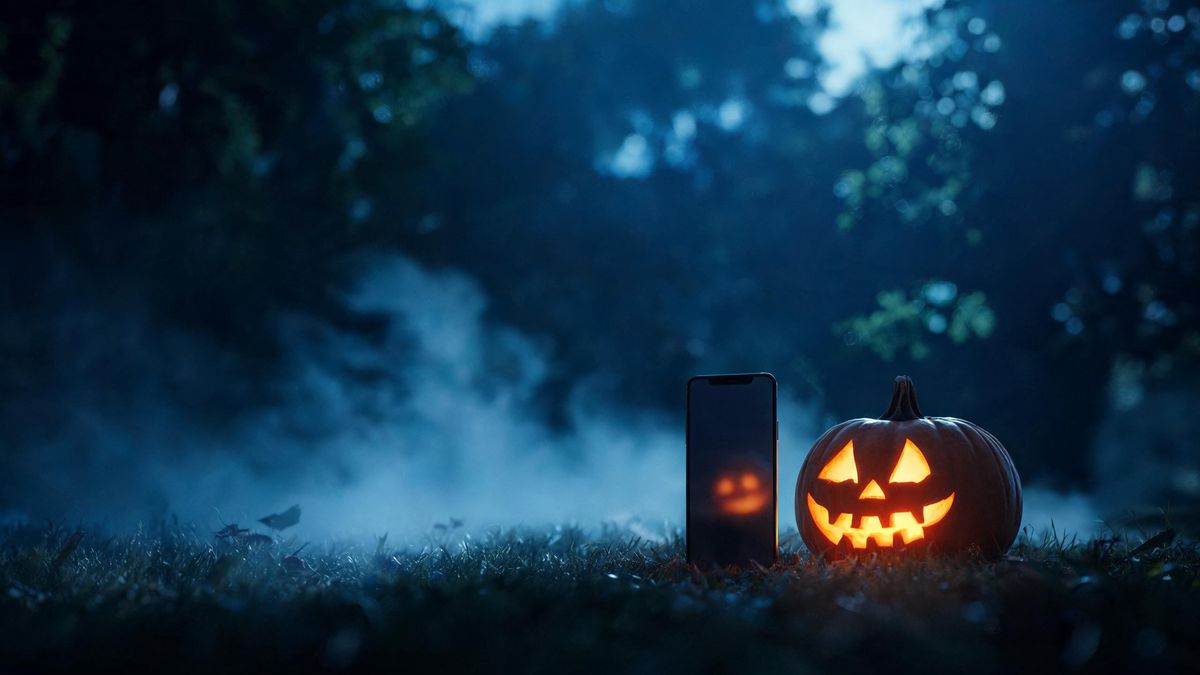
Use a clear, front-facing photo in even light with the face unobstructed and the eyes uncovered. A phone screen magnifies every flaw in the source, so the better the photograph you start from, the better the vertical result will look.
Render at 9:16
Open the Halloween effect, upload that photo and pick a direction. Choose 9:16 at the export step so the composition is made for a tall frame rather than trimmed into one after the fact.
Check the first three seconds
Watch the opening before you post. If nothing moves or changes early on, try a different direction, because scroll decisions are made in the first moments and are not revisited by anyone later.
Post early in October
Publish in the first half of the month. Attention builds through October and vanishes right after the 31st, so a clip posted on the day itself has almost no runway in which to be seen.
What people use it for
The jobs this actually gets used for.
A daily post through October
Render one portrait across the three settings and you have visually distinct clips without organising a new shoot, which is what keeps a month-long run of posts from repeating itself in the feed. Rotate them and the run looks planned.
Sound-led trends
Faceless settings give you footage that does not fight a trending audio track or an on-screen caption. Use night street as the base layer and let the sound carry the post from there.
Profile grids
A 1:1 export sits correctly in a profile grid alongside your other posts, which a vertical file will not. Use the same setting across a row of three so the seasonal run reads as deliberate rather than as three unrelated uploads.
Cross-posting to Shorts
The same 9:16 file also works on Shorts without any reformatting, so a single render covers three platforms instead of three separate exports prepared for each. That is one less thing to keep track of during October.
What vertical actually changes
Composition, and the first three seconds.
Shooting landscape and cropping down to 9:16 is the most common mistake, and it fails in a specific way. The crop keeps the middle of the frame and discards the sides, but the composition was built for the full width, so the subject ends up badly placed and the light no longer falls where it was arranged to fall. Rendering at 9:16 from the start means the frame is arranged for a tall screen and the clip looks composed rather than trimmed.
The opening three seconds decide whether anything else gets seen at all. A clip that begins on a static wide shot gives a scrolling thumb no reason to stop; one that begins with visible movement or a strong light source does. This is the practical case for having three settings available: they produce different opening images from the same source photo, which lets you choose the one that moves earliest rather than settling for the first.
Loops are underrated precisely because they are invisible when they work. Footage that ends on a frame similar to its first will play through repeatedly without the viewer registering the restart, and on platforms that autoplay, that repetition is where watch time comes from. Settings that hold a continuous atmosphere, fog, a lit pumpkin, an empty street, give you a better chance of that than footage with a hard change in it.
Credits and plans
Every tool draws on one shared credit balance.
Every render draws credits from the same balance. The Free plan includes 30 credits per month with no credit card required; Starter is $9 for 400 credits, Pro is $19 for 1,000 and Studio is $59 for 4,000. The credit cost is shown before you confirm, so you can see the exact number on the render step before committing to it.
Related guides
Longer reads on the same workflow, from the OpenFilmo blog.
AI Video Prompt Formulas That Hold Up in Production
Prompt structures that work for AI video: subject, motion, camera, time and style — with tested formulas, failure patterns and a m…
Text to Video AI: Turn Any Prompt Into Video
Learn how text to video AI works, the four-part prompt formula that produces usable clips, how to fix common failures, and where i…
AI Content Labeling Rules: What You Must Disclose in 2026
What AI content labelling rules require: what to disclose, where human review is mandatory, and how platform rules differ from law…
Related tools
Closely related pages on the same problem.
Frequently asked questions
Should I shoot vertical or crop afterwards?
Render at 9:16 directly. Cropping a landscape file keeps the centre and throws away the sides, and the composition was never built for that. Exporting vertical from the start gives you a frame arranged for a phone screen, with the subject placed deliberately.
What photo gives the best vertical result?
A clear, front-facing portrait taken in even light, with the face unobstructed. Vertical magnifies whatever is wrong with the source, so avoid heavy shadow across the features and pick the sharpest frame you have available. It is worth a minute of searching.
Which direction loops best?
The settings that hold a continuous atmosphere. Fog, a lit pumpkin and an empty street all avoid a hard change in the frame, which makes the restart harder to notice when the platform begins the clip again automatically. That is the whole trick.
Can I post the same clip to Shorts?
Yes. A 9:16 export is the native shape for TikTok, Reels and Shorts, so a single render covers all three platforms rather than needing separate versions prepared for each one. Upload the same file and adjust only the caption. Nothing else changes.
How many credits does a render cost?
The credit cost is shown before you confirm, so the figure appears on the render step before anything is spent. Free accounts get 30 credits a month without a card, and paid plans add larger allowances if you are posting daily.
Halloween effect templates
Ready-made halloween templates in OpenFilmo — open one and drop your photo in.