
Transformation effect
Turn a Photo Into a Robot Transformation
A 4-second clip that converts the subject of your photograph into a machine. One upload, 40 credits, 720p, and a clear list of who can appear in the frame.
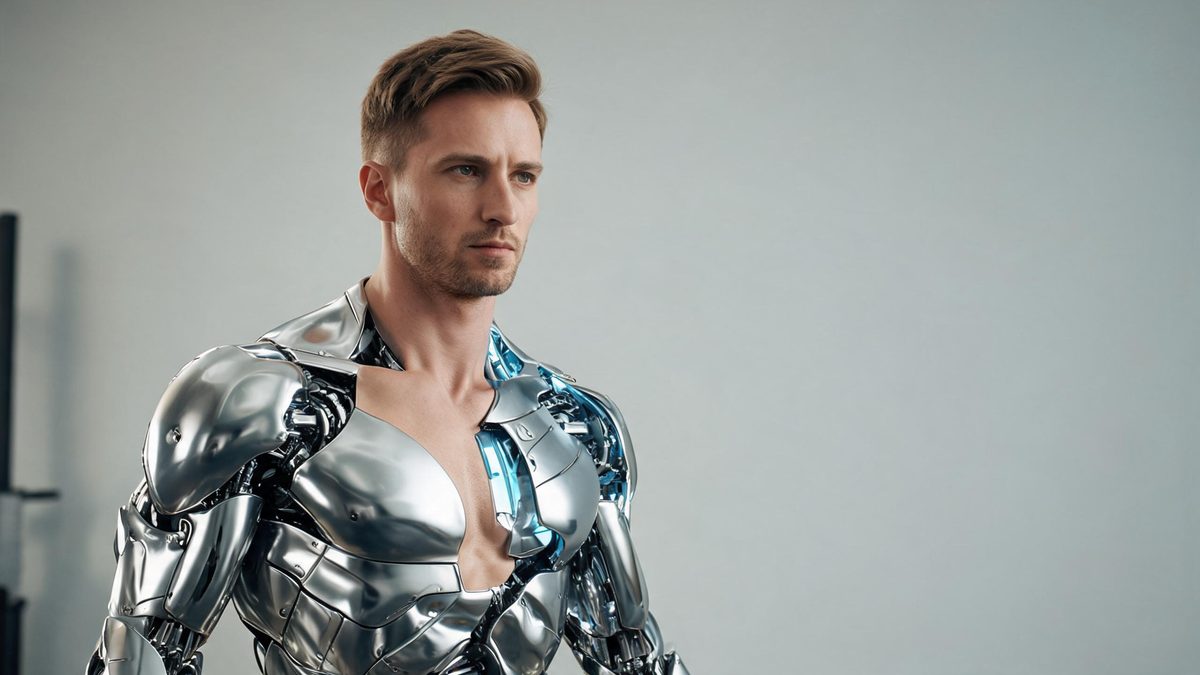
A robot transformation is unusual among these effects because the subject does not have to be alive. The template accepts a single person, a single animal, or a single object such as a car, a scooter, a building or a piece of furniture, and animates that subject into mechanical form. That range makes it a tool for product concepts and scenery as much as for portraits.
The output is a 4-second 720p video at 40 credits per run, and the frame follows your source photograph. The behaviours to plan around are specific: the robot colour can differ from the original, a living subject can turn mechanical below the neck while the face stays human, and on some sources the transformation step does not appear at all and the robot simply arrives.
Specs at a glance
Straight from the product panel, not from a marketing deck.
- Output
- 4-second video
- Credits
- 40 per run
- Resolution
- 720p
- Aspect ratio
- Matches your input photo
- Input
- 1 photo — a single object (car, scooter, building, furniture), a single animal, or one person
- Best results with
- A sharp image with one clearly separated subject
- Known limits
- The robot colour can differ from the source, a person or animal can become mechanical below the neck while the face stays unchanged, and the transformation step is sometimes skipped entirely.
What it does
Built for this specific job, not a generic editor.
People, animals and objects
One photograph of a single person, a single animal, or a single object is all the effect needs. Cars, scooters, buildings and furniture are all valid subjects, which widens the use beyond character work into concept and product imagery.
Sharp, separated subjects convert best
The recommended input is a clear image with one obvious subject. Where the subject sits cleanly apart from its background, the effect has a definite outline to convert, which makes the mechanical rebuild more coherent.
Source proportions kept
The finished clip inherits the aspect ratio of the upload. A wide shot of a car and a tall shot of a doorway each keep their shape, so the framing decision belongs to the photograph you choose.
A mechanical read, not a filter
The result is a structural change to the subject rather than a colour grade. Panels, joints and surfaces replace the original material, which is what gives the clip its premise instead of merely tinting the photo.
How it works
Four steps, no timeline to learn.
Isolate a single subject
Choose one photograph with one obvious subject: a person, an animal, or an object like a car or a building. A clean separation from the background gives the effect a firm outline to work from.
Prefer a sharp, well-lit frame
Pick an image where the subject is crisp and well exposed. Blur and low contrast are the cases where a mechanical rebuild has the least information to preserve, so a sharper original produces a more recognisable robot.
Run it and confirm the charge
Add the photograph to the robot transformation effect and check the panel before running. Each run uses 40 credits from the shared balance, and the figure is shown in advance.
Check the face and the colour
Play the 4-second 720p result and look at two things. First, whether a living subject converted fully rather than only below the neck. Second, how far the robot colour drifted from the original, since that is a documented variable rather than a fault.
Where people use it
The jobs this effect actually gets used for.
Product and vehicle concepts
A car, a scooter or a piece of hardware becomes a mechanical character for a concept post. A wide, clean shot with the object isolated lets the conversion read without background interference.
Character design and worldbuilding
A person or an animal can become a machine version of themselves for a story or a roleplay feed. A half-body frame with the face visible keeps the original identity legible through the change.
Architecture and scenery ideas
Buildings are supported subjects, so an architectural photograph can become a futuristic structure in motion. An upright shot with clear lines gives the mechanical rebuild its most coherent geometry.
Sci-fi themed content calendars
The clip has an obvious home in a science-fiction or tech-themed series. Because the frame follows the source, both vertical and horizontal placements work from the same effect.
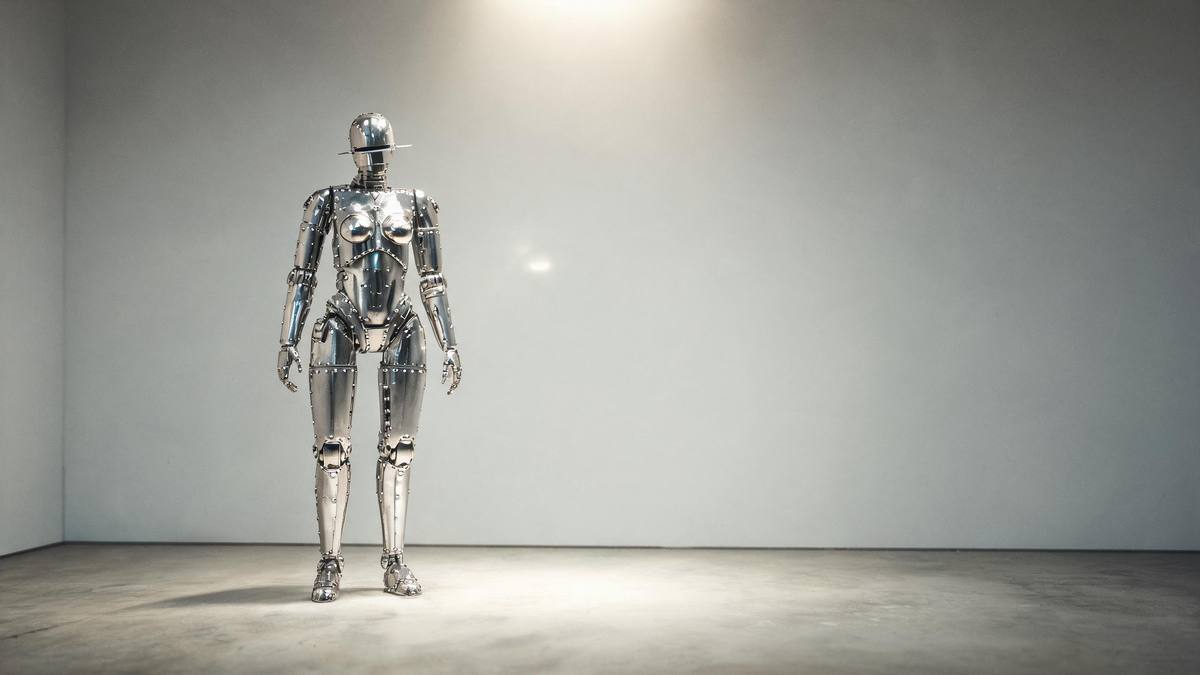
Why object sources behave differently from people
The recommendations change depending on what is in the frame, and the limits move with them.
The easiest way to think about this effect is as a mechanical rebuild of whatever shape you give it. That works equally on a person, an animal and a car because all three are recognisable silhouettes. What changes is the risk. On a living subject, the documented tendency is for the conversion to stop at the neck, leaving a human face on a mechanical body, which can read as a deliberate style or as an unfinished transformation depending on what you wanted. On an object, there is no face to split, so the whole subject converts together.
Colour is the other variable worth setting expectations for. The robot that comes back can differ in colour from the source, which makes this effect a poor choice when exact colour is part of the message, such as a brand vehicle or a specific product finish. Where the subject is chosen for its shape rather than its paint, the drift is harmless and often reads as part of the science-fiction premise.
The three documented limits, combined, point to the same input advice: use a sharp photograph with one clearly separated subject. That gives the effect the outline it needs, the detail it needs, and a single region to convert. A busy frame with several objects, or an image where the subject blends into the background, works against all three at once and is the reliable way to get an unsatisfying clip.
Credits and plans
Every effect draws on one shared credit balance.
Each robot transformation video uses 40 credits from the shared OpenFilmo balance, with the charge shown before confirmation. The Free plan includes 30 credits each month with no credit card required. Starter is $9 for 400 credits, Pro is $19 for 1,000, and Studio is $59 for 4,000.
Related guides
Longer reads on the same workflow, from the OpenFilmo blog.
Image to Video AI: Animate Any Photo in Seconds
A complete guide to image to video AI: what makes a good source image, how to write motion prompts, top use cases, and how to fix …
Character Consistency in AI Video: What Actually Works
How to keep characters consistent across AI video shots: reference images, prompt discipline, key frame locking and post-hoc corre…
How to Use Luma Dream Machine: A Practical Guide
How to use Luma Dream Machine: generating from text and images, prompt approach, what it does well, its limits, and how it fits al…
Related effects
Same family of effects, on the same kind of input.
Frequently asked questions
What subjects work with the robot transformation?
One photograph of a single person, a single animal, or a single object such as a car, a scooter, a building or a piece of furniture. One subject per image is the rule, and a clear separation from the background helps most.
How much does a robot transformation video cost?
A run costs 40 credits, shown before you confirm. The charge covers the complete four-second clip whether the subject is a person, an animal or an object, with no second upload needed.
What resolution and length does it produce?
The output is a 4-second video at 720p, and its aspect ratio matches the photograph you uploaded. A wide object shot stays wide and a tall subject stays tall, so framing is decided at the source.
Why is the face still human?
On a living subject the transformation can stop at the neck, leaving a human face on a mechanical body. That is a documented behaviour of this effect, so choose a frame and a look where a split like that reads as intentional.
Will the colour match my photo?
Not necessarily. The robot colour can differ from the subject in the source image. Where exact colour matters, such as a specific vehicle finish, plan for that drift or choose a template with a fixed palette.