
What Sharpening Can Rescue, and What It Cannot
Blur has causes, and the cause decides whether anything can be done about it. Diagnose it before you spend a credit.
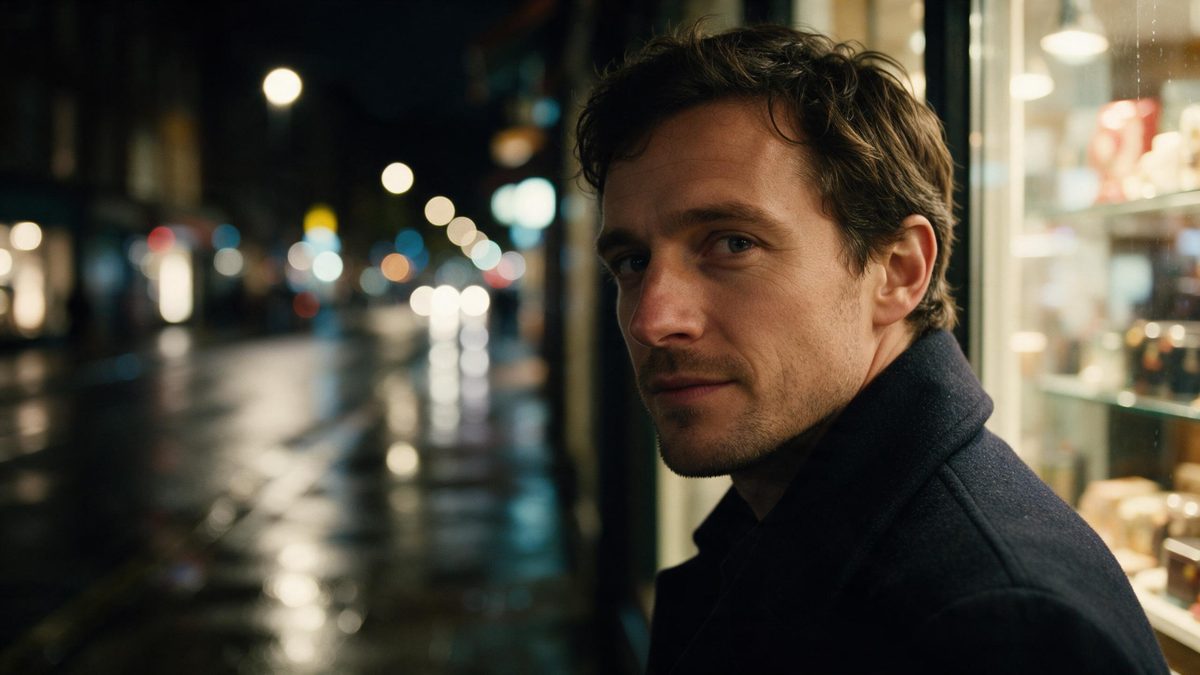
A soft photograph is usually described as one problem, but there are at least four of them sharing one word. Motion blur smears detail in a direction. A missed focus spreads it evenly in every direction. Compression breaks it into blocks and discards fine variation to save bytes. And genuine low resolution means the detail was never captured at all. Those four have very different prospects, and the picture itself tells you which one you have if you look at the edges.
What follows applies to sharpening the pixels already in your file. If your photograph is blurry because it genuinely lacks pixels for the size you need to display it, that is a different purchase and belongs on the AI image upscaler page, which handles taking an image up to 4K. Everything here assumes the file is the right size and wrong in its clarity.
What it does
Built for this specific job, not a generic editor.
Sharpening within the pixels you have
Fast Enhancer strengthens the transitions that survived whatever went wrong, working on your file’s existing dimensions rather than on a promise about new ones.
Detail that survives being viewed closely
Small elements — numerals on a receipt, stitching on a garment, the lettering on a sign in the background — are where a soft image gives itself away at full size.
A before and after you can actually measure
Run it once, put the two versions side by side at 100 percent and look at one edge. At eight credits and an estimated 10 to 25 seconds, that comparison is cheap.
Nothing installed to do it
It runs in the browser workspace at app.openfilmo.com. Upload a PNG or JPG, run the tool, take the file back — no desktop application, no plugin and no queue on your own machine.
How it works
Four steps, no timeline to learn.
Diagnose the blur before paying for anything
Open the file at 100 percent and look at one edge. Directional smearing points to motion; an even softness across every edge points to focus; blocky patches and rough edges around shapes point to compression; a small file simply upscaled by whatever made it points to missing pixels.
Discard the copies and find the original
The version that came through a messaging app has been resized and recompressed, sometimes twice. Those artefacts sit exactly where missing detail would, and no tool can tell the difference afterwards.
Export PNG or JPG at full resolution
Those are the two formats accepted. Hand over the file at the largest pixel size you have, because downscaling to save upload time throws away the very structure the pass needs to work with.
Judge the result on one edge, not on the whole picture
Global impressions are unreliable — a sharpened image often looks more convincing simply because its contrast went up. Compare the same edge in both versions and check whether noise appeared in the shadows.
What people use it for
The jobs this actually gets used for.
A handheld shot taken a stop too slow
Slight motion blur where the subject still carries hard structure somewhere in the frame, which is usually enough for a sharpening pass to build on.
Portraits that focused on the wrong plane
The face is marginally softer than the shoulder when you view it at full size — the most common version of this problem, and among the easiest to improve.
Documents photographed rather than scanned
Type resolves as grey mush at small sizes. Sharpening improves whether the words can be read, which is the entire point of the picture.
Old digital files resaved too many times
Photographs from an earlier era of cameras that have accumulated repeated JPEG saves, where the sharpness that remains is worth protecting rather than amplifying.
Why some blur is recoverable and some was never recorded
Sharpening amplifies what exists. It does not retrieve what was never written into the file.
Every image carries a finite amount of information, and blur is what happens when part of it is lost. The distinction that decides your result is whether that information was merely weakened or genuinely destroyed. A file that has been softly focused, mildly compressed or slightly shaken still contains faint traces of every edge it should have. A file that was captured small, heavily compressed or smeared across many pixels contains less information than the output appears to require, and whatever fills the gap is an estimate rather than a recovery.
That estimate behaves differently depending on the subject. Straight lines, geometric shapes and repeating patterns are easy to reconstruct convincingly, because there are strong constraints on what should be there. Faces, foliage, handwriting and fine texture are much harder, since the plausible variations are nearly infinite and the wrong one reads immediately as wrong to anyone looking.
Sharpening therefore has a ceiling that is set by the photograph, not by the tool. The honest test costs eight credits and takes 10 to 25 seconds, so run it once on the worst image in your set and let that result tell you whether the rest of the set is worth processing. If the file fails because it lacks pixels rather than because it lacks definition, improving clarity will not help, and the upscaler page is where the size problem actually gets solved.
Credits and plans
Every tool draws on one shared credit balance.
Each run costs 8 credits, with an estimated 10 to 25 seconds of processing, whichever plan you are on. Free gives 30 credits a month with no credit card — three sharpening runs and six credits left over — and includes commercial use with no watermark on exports, at one task at a time and standard speed. Starter is $9 for 400 credits and two tasks in flight; Pro is $19 for 1,000 credits, three tasks and a priority queue; Studio is $59 for 4,000 credits, six tasks and API access.
Related guides
Longer reads on the same workflow, from the OpenFilmo blog.
Text in AI Video: Why It Breaks and What to Do Instead
Why AI video models garble text and logos, what actually works instead, and a production workflow for adding typography to generat…
AI Video Upscaling to 4K: Refiners, Settings and Limits
How AI video upscaling and one-step refiners work, when to upscale versus regenerate at native resolution, and the settings that a…
Image to Video AI: Animate Any Photo in Seconds
A complete guide to image to video AI: what makes a good source image, how to write motion prompts, top use cases, and how to fix …
Related tools
Closely related pages on the same problem.
Frequently asked questions
Can it fix any blurry photo?
No, and the honest test is cheap. Where an edge retains any residual contrast there is something to strengthen; where movement or compression destroyed that information entirely, nothing returns it. At 8 credits and 10 to 25 seconds per run, trying once on your worst file is faster than reading a description.
What does sharpening one photo cost?
Eight credits. The Free plan provides 30 credits monthly without asking for a card, so you can sharpen three photographs before paying, and paid plans begin at $9 for 400 credits.
Which files can I upload?
PNG and JPG only. If your photo is in another format, export it first, and choose PNG whenever your editor offers it so that no further compression is added before processing.
Is this the same thing as enlarging the photo?
No. Enlarging answers "this file does not have enough pixels"; sharpening answers "the pixels it has are unclear". For a genuinely larger file, use the AI image upscaler, which covers taking an image to 4K. Fast Enhancer lists upscale and sharpen in its panel description but publishes no magnification factor, so do not plan an output size around it.
Can I hand the result to a client?
Yes. Commercial use is included on the Free plan as well as on paid plans, and there is no watermark added to exports. Sharpening does not change who owns the photograph, so make sure the rights to the source image are yours to pass on.
More OpenFilmo tools
Other generators and utilities in the same workspace.
Halloween pages
Scene ideas, prompt libraries and a step-by-step walkthrough for the Halloween effect.
Face and portrait tools
Edit, retouch and enhance faces in the same workspace.