
Cinematic Lighting Prompts for AI Video: How to Light a Subject in Words
Light does more for a generated clip than any lens or camera move. It sets the mood, it hides the artefacts and, when you get it wrong, it is usually the reason a face looks wrong. This is a set of lighting setups you can paste, plus the three failure patterns worth recognising.
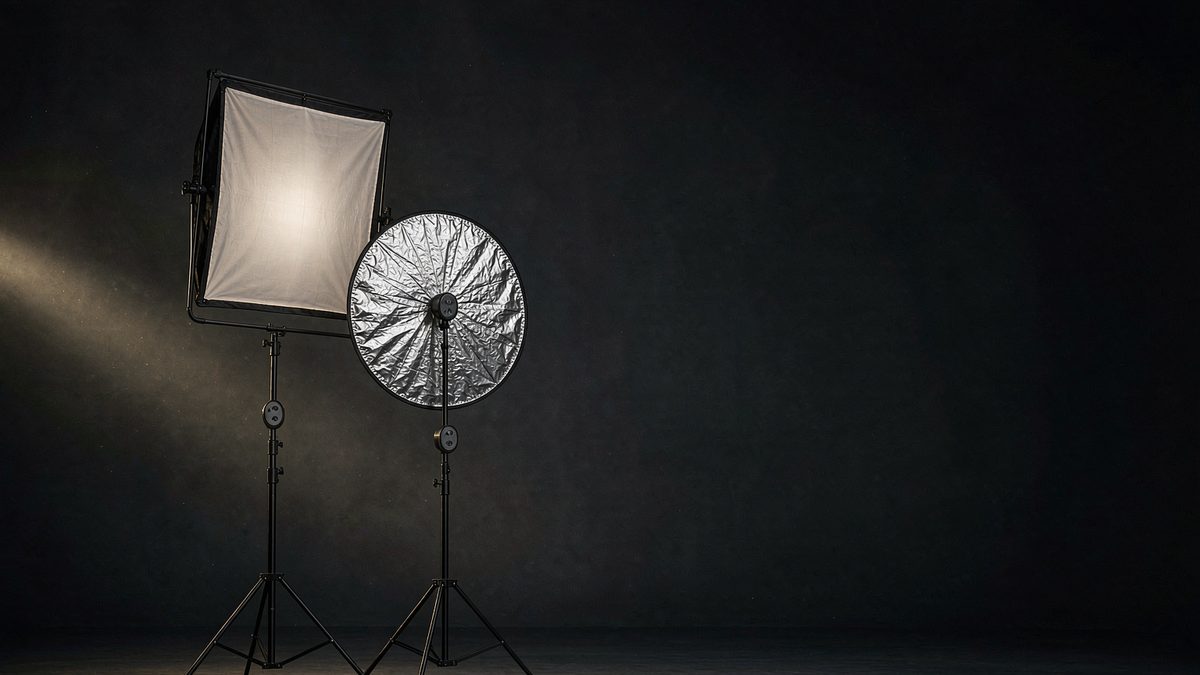
Lighting words are the highest-leverage vocabulary in a video prompt. Change the subject and you change the clip; change the light and you change how the whole thing is read. A product on a white background is a catalogue shot, the same product under a single warm lamp with a hard shadow is an advertisement, and no model swaps between those two on its own.
The practical trick is to describe light the way a gaffer would: where the source is, how big and soft it is, what colour it is, and what it does to the background. That is four small decisions, and each one is a phrase the model reliably understands.
The setups below are ordered from the most forgiving to the most demanding. If you are new to this, start with window light and golden hour, and leave neon and backlit rim light until the basics reproduce consistently for you.
The core idea
Four principles behind every prompt on this page.
Give the light a direction
Light from the left, from behind, from above is the single most useful phrase you can add. Undirected light is flat light, and flat light is what generic outputs look like.
Say how soft it is
Soft diffused window light and hard direct sunlight produce completely different faces. Models reproduce both well; they just need to be told which one you want.
Separate subject light from background light
A rim-lit subject against a dark background reads as a professional setup. Naming both — warm key light on the face, cool dim background — is what makes a clip look lit rather than exposed.
Keep faces front-lit
Strong backlight is the fastest way to lose a face. Backlit and silhouetted are valid choices for a silhouette, but if you need to see the person, keep the key light in front or to the side.
Step-by-step
The order that keeps you from debugging five things at once.
Decide what the light is doing
Is it revealing a product, flattering a face, or hiding a background? That answer determines everything else — a product wants even soft light, a portrait wants direction, a moody scene wants a dark background.
Place the key light and name the direction
Write one clause: soft window light from camera left, or warm lamp from below. Direction is the phrase that turns a generic frame into a lit one.
Choose hard or soft
Hard light gives crisp shadows and texture; soft light smooths. Hard afternoon sun and overcast diffused light are two words apart in the prompt and miles apart in the output.
Set the background separately
Add a clause for the background: dark moody background falling off to black, or bright airy interior. Without it the model lights the whole frame evenly and the subject disappears into it.
Generate two variants and compare
Lighting is the cheapest thing to iterate. Two renders at five seconds cost 10 credits and tell you more than any amount of rewriting.
Prompt recipes
Paste as-is, then swap the subject for yours.
Golden hour
Golden hour light raking from the right across a wheat field, long soft shadows, warm amber highlights on the grass, gentle haze, wide shot
Why it works: The most reliable cinematic look in any model. Warm directional light with long shadows is heavily represented in training footage and reproduces with almost no tuning.
Soft window light
Soft diffused window light from camera left on a woman reading at a wooden table, sheer curtain glowing behind, cool fill on the shadow side, medium shot
Why it works: The safest choice for faces. Diffused front-side light flatters skin and keeps detail in the shadows, which is where harsher setups start to break down.
Hard noir side light
Hard single light from the left across a man's face in an empty office at night, deep black shadow on the right side, venetian blind stripes, close-up
Why it works: High contrast hides artefacts beautifully. Hard side light puts half the frame in shadow, which is useful when a model struggles with hands or background detail.
Neon practical light
Rain-slick street at night lit by pink and cyan neon signage, reflections pooling in puddles, a lone figure walking away from camera, wide shot
Why it works: Coloured practicals are strong mood but weak on faces. Use them for environments and silhouettes rather than for anything where you need to recognise a person.
Rim light on a dark background
Cool rim light outlining the shoulder and jaw of a cellist against a near-black recital hall, faint warm haze in the air, shallow depth of field, medium shot
Why it works: Rim light separates a subject from a dark background better than any other setup. Keep a small amount of fill on the face or the result drifts into a full silhouette.
Studio product light
Large softbox from above and slightly in front, white seamless background, gentle gradient shadow under a matte ceramic bottle, clean commercial product light
Why it works: The commercial default. Even, soft, slightly front-top light with a soft shadow is what e-commerce imagery looks like, and models reproduce it very consistently.
Overcast flat light
Overcast diffused daylight on a coastal path, no hard shadows, muted grey-blue palette, soft even light across the frame, wide shot
Why it works: Useful when you do not want the light to be the subject. Flat light is also the most forgiving for later colour grading because nothing is clipped.
Candle and firelight
Warm flickering candlelight from below on two hands folding paper at a table, deep warm shadows, darkness falling off at the edges, close-up
Why it works: Firelight is warm, low and moving. Expect the flicker to be subtle rather than dramatic — heavy flicker usually reads as an exposure error to the model.
Common mistakes
The four that account for most bad results.
Backlighting a face you need to see
Strong light from behind puts the face in shadow and models frequently fill it with a plausible but wrong face. If the person matters, put the key light in front or to the side and keep the backlight as a rim.
Asking for two conflicting sources
Bright sunlight and neon and candlelight give the model three colour temperatures to reconcile and it usually averages them into something muddy. Pick one source and one accent.
Forgetting the background
A beautifully lit subject in front of an equally bright background has no separation. Add a clause about the background falling off, going dark, or staying soft.
Using moody as a lighting instruction
Moody, atmospheric and dramatic are mood words. They change the grade, not the setup. Write the source, the direction and the softness instead.
Why light outperforms every other prompt lever
It changes the whole frame at once, and it hides what the model is bad at.
Every other lever in a prompt acts on one part of the image. A lens changes framing, a camera move changes the path, a style word changes texture. Light changes the subject, the background, the contrast and the mood simultaneously, which is why a single lighting clause can turn a flat output into something that looks directed.
Light is also the cheapest way to hide weaknesses. Video models are weakest on fine detail — hands, fabric weave, distant background geometry — and all of that lives in the shadows. Put the frame in low-key light and those regions fall away, so the failures stop being visible without the underlying generation getting any better.
The caution is that light has to be internally consistent. A prompt that names a source, a direction and a background gives the model a coherent physical setup to render. A prompt that names three sources or a mood without a source forces it to guess, and the guess is almost always the statistically average frame: evenly exposed, slightly warm, nothing in particular.
Practise it in OpenFilmo
Every recipe on this page runs in the same workspace.
A five-second clip costs 5 credits and one image costs 2. The Free plan gives you 30 credits every month with no credit card, no watermark and commercial use included — enough for six five-second tests before you pay anything. Paid plans start at $9 for 400 credits and add faster generation, parallel tasks and higher export resolution.
Related guides
Longer reads on the same workflow, from the OpenFilmo blog.
AI Video Prompt Formulas That Hold Up in Production
Prompt structures that work for AI video: subject, motion, camera, time and style — with tested formulas, failure patterns and a m…
Character Consistency in AI Video: What Actually Works
How to keep characters consistent across AI video shots: reference images, prompt discipline, key frame locking and post-hoc corre…
AI Video Upscaling to 4K: Refiners, Settings and Limits
How AI video upscaling and one-step refiners work, when to upscale versus regenerate at native resolution, and the settings that a…
AI tools
Single-purpose tools that run in the same workspace, on the same credit balance.
Vidu models
The Vidu Q1 and Q2 models this site runs on, and how they compare to Kling, Veo and Runway.
Related workflows
Closely related tools and guides on the same problem.
Frequently asked questions
What is the best lighting prompt for AI video?
Soft window light from one side, with the background named separately. It flatters faces, keeps detail in the shadows and reproduces more consistently across models than any dramatic setup.
Why does my AI video face look wrong under backlight?
Because the key information is in shadow. With the light behind the subject, the model has to invent the face from very little signal, and it fills the gap with a plausible face that does not match your reference. Move the key light in front or to the side.
How do I get a dark cinematic look without losing the subject?
Use a rim light. A cool rim on the shoulder and jaw against a near-black background separates the subject cleanly while keeping most of the frame in shadow.
Can I combine two light sources?
Yes, one key and one accent. A warm key with a cool background accent is a classic combination and models handle it well. Three competing sources usually average into a flat muddy frame.
Does lighting affect generation cost?
No. A five-second clip costs 5 credits regardless of how complex the lighting description is. The cost is in how many variants you render, not how long the prompt is.
Should I add a colour grade in the prompt?
Only lightly. Words like teal and orange or muted palette work as modifiers, but they cannot rescue a badly lit setup. Fix the source and direction first, then grade.
AI prompt collections
Copy-ready prompt sets for portraits, couples, selfies, anime, fashion and film.